Its been a long time since my last post, about a month to be exact, but be assured I have been working steady during the time. The next few posts will be proof of that.
During the month I have created all the normal maps for each armor part in Mudbox, and I have gotten about half of the textures done. The normal maps turned out much better than I was expecting them to. I was able to get a lot of detail on each armor part.
I am also trying to create game friendly versions of each armor part encase I ever turn it into a character to be used in a game. Most of the parts are already pretty low poly, but some, like the breastplate are really high poly. I worked really hard to create a low poly version of the breastplate that would still maintain the shape of the sculpted version, I think I did a pretty decent job as you will see below in the pictures.
In this post I am going to show you the completed breastplate. The high poly and low poly, with and without textures, and with and without normal maps.
Base model
With normal map
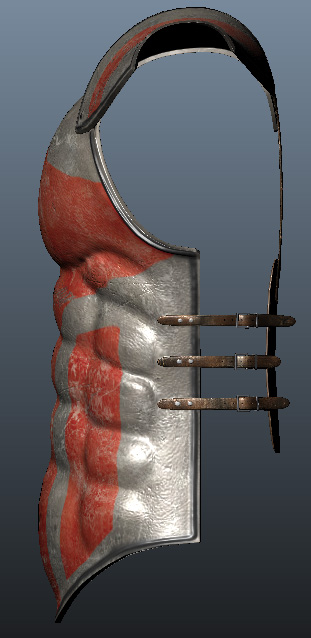
With normal map and textures
Side
Back
High poly wireframe (27176 polys)
Low poly wireframe (3624 polys)
Low poly final
As you can see there is a significant cut in polys from the high to the low. There is also a drop in quality though, but luckily it isn't very much.